

Exam Seating Arrangement Software 2025
Hello friends! Exam Seating Arrangement Software ,.Today, we are going to talk about something very interesting and helpful for schools and colleges. It is called Exam Seating Arrangement Software 2025 . This software helps teachers and administrators organize students into different rooms during exams in a quick and easy way. Imagine having 550 students and only 10 rooms—how would you decide who sits where? This software solves that problem by arranging everything automatically.
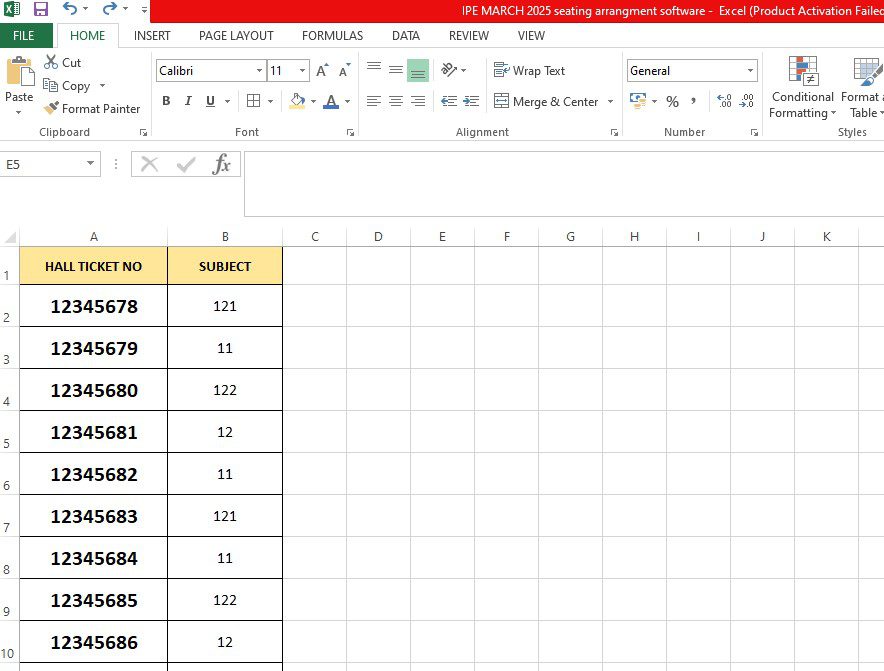
FOR 6 ROWS OF SEATING ARRANGMENT FOR IPE MARCH 2025
Please wait for 30 seconds, your download will start
Let’s break it down step by step so that even a first-class student can understand how this works. We will also explain why each step is important and how it helps make things easier for everyone.

What Does the Exam Seating Arrangement Software Do?
The software follows what we call a U-shaped pattern . In simple words, this means students are seated in rows that look like the letter “U.” For example, if there are 30 students in one room, they might be divided into three rows of 10 students each, forming a U shape. This makes sure no two students sitting next to each other have the same question paper or subject, which prevents cheating.
Now, let’s go through all the steps needed to use this amazing tool!
Step 1: Download the Centre NR File
The first thing you need to do is download something called the Centre NR file . Don’t worry—it sounds complicated, but it’s actually quite simple. The Centre NR file contains information about your school or college, such as its name, code, and details about the exams happening there. You can find this file on your college’s official website after logging in with your username and password.
Why is this step important? Because the Centre NR file has all the basic data the software needs to start working. Without it, the software won’t know where to begin!
Step 2: Convert PDF to Excel
Once you’ve downloaded the Centre NR file, it will usually come as a PDF document. But guess what? Our software works better with Excel files. So, the next step is to convert the PDF into an Excel sheet. How do we do this? There are many free websites online that can help you convert PDFs into Excel sheets. Just search for “PDF to Excel converter” and follow the instructions.
This step is important because Excel allows us to edit and organize the data more easily. Think of it like turning a messy pile of papers into neat folders!
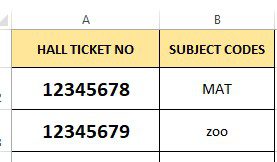
Step 3: Use Ctrl+H to Replace Subject Codes
Now comes the fun part! Open the Excel sheet you just created. Press Ctrl + H on your keyboard. This opens a special box where you can replace text. Here, you need to replace the subject codes (which are short forms for subjects) with their full names. For example, instead of seeing “MATH101,” you’ll see “Mathematics.”
Why is this necessary? Well, when the seating arrangement is printed, it should show clear subject names so that teachers and students don’t get confused. Nobody likes reading weird codes, right?
Step 4: Place Roll Numbers in the Right Sheet
After fixing the subject names, it’s time to add the roll numbers of all the students. Every student gets a unique roll number, like a special ID card for exams. These roll numbers must be placed in a specific place in the Excel sheet called the Roll No Sheet .
This step is super important because without roll numbers, the software won’t know which student belongs to which subject or room. Imagine trying to seat people at a party without knowing their names—it would be chaos!
Step 5: Add Your College Details in the Exam Seating Arrangement Software..
Next, you need to fill in some extra information about your college. Things like:
- The name of your college
- The date of the exam
- The center code (a unique number given to every school or college)
These details are added to make sure everything looks professional and organized. When the final seating plan is printed, these pieces of information appear at the top of every page. It’s like putting a label on a gift box—it tells everyone exactly what’s inside!
Step 6: Assign Subjects to Students in the Exam Seating Arrangement Software
Now, it’s time to assign subjects to the students. Remember those subject names you replaced earlier? You’ll now match them with the correct roll numbers. For instance, if someone is taking Mathematics, their roll number will go under the Mathematics column.
This step ensures that students are grouped according to their subjects. If someone is writing a Math exam, they shouldn’t end up in a room full of History students!
Step 7: Name the Rooms and Rows in the Exam Seating Arrangement Software..
Here’s where the magic happens! You’ll now create a new sheet called the Room-wise Seating Arrangement Sheet . In this sheet, you’ll list out the names of all the rooms (like Room 1, Room 2, etc.) and mention how many rows are in each room. For example:
- Room 1: 5 rows
- Room 2: 6 rows
This step is crucial because it tells the software how many students can fit in each room and how to arrange them properly. Without this, the software wouldn’t know where to send the students!
Step 8: Let the Exam Seating Arrangement Software..Do Its Job
Finally, once you’ve completed all the previous steps, click a button in the software to generate the seating plan. In just a few seconds, the software will create a perfect seating arrangement for all 550 students across 10 rooms. Isn’t that amazing?
Each room will have students seated in a U-shaped pattern, with different subjects mixed together to avoid cheating. Teachers will receive a neat printout showing exactly who sits where, making their job much easier.
Why Is This Software So Helpful?
Imagine organizing 550 students manually—it would take hours, maybe even days! With this software, everything is done in seconds. Plus, it reduces mistakes because computers are very good at following rules.
For example:
- Students won’t accidentally end up in the wrong room.
- Teachers won’t waste time figuring out seating plans.
